


When you are writing technical articles or a spaghetti blog (with general, travel and also Technical entries) like this, you will need to use screenshot images.
The problem with screenshots (especially with today’s high-res displays) is that the saved image files are huge in size. To solve this, you will generally resize the images. With the reduction in size, Screenshots becomes unreadable.
While doing such a screenshot today for an earlier entry, using Adobe PhotoShop Elements (PSE) and Zapgrab (the free utility I use to capture a portion of the screen) I came across a nice option in Photoshop elements. It is called “Adjust Blacklighting” available under the “Enhance” menu option in PSE.
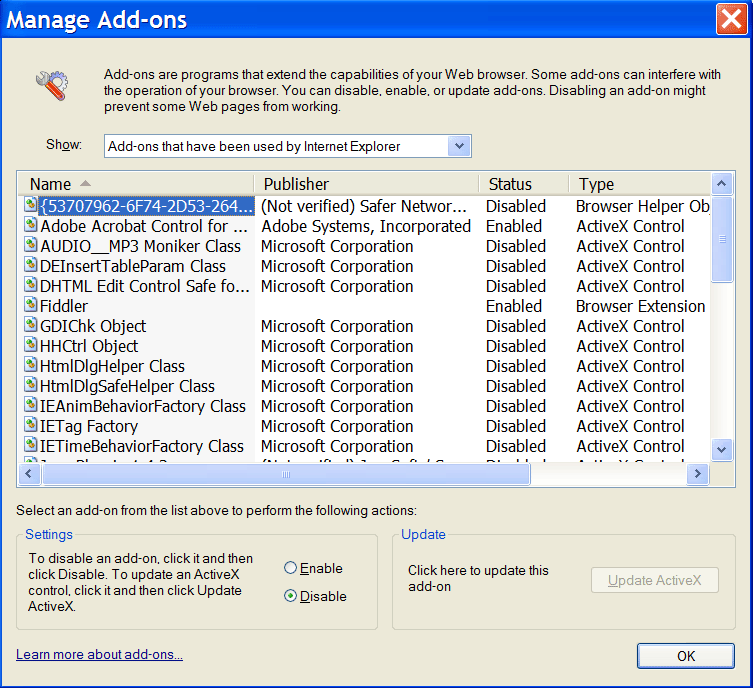
1) The original screenshot I started looked like this (753×688)
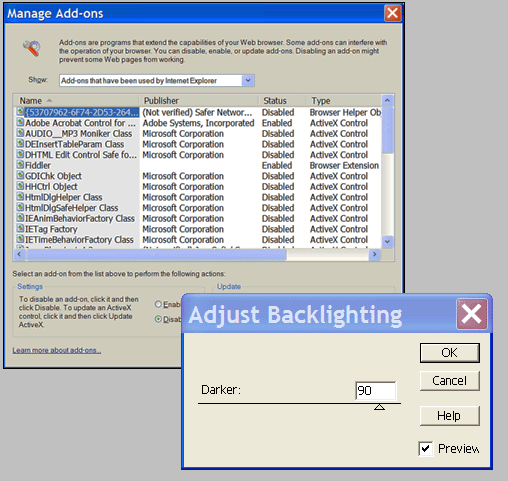
2) I resized the image to 400×365. It looked like this, with unreadable text.
3) Next, I used the Adjust blacklighting option like this
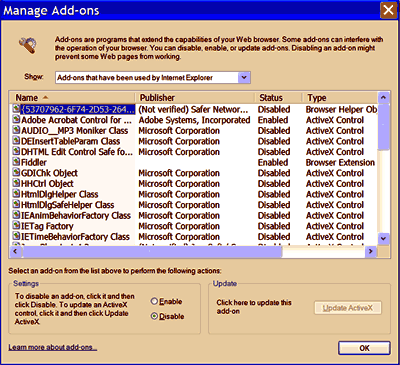
4) Finally, with Auto Levels and adjusting Contrast, I got the final output like this. This definitely looks readable even at the 50% reduced size.
I guess this entry will be useful for non-photoshop pros like me. Did you find this tip useful, post your feedback below.
Download ZAPGRAB2.zip (9.41 KB)
Thnax yaar…lot useful.